Unity 2D Sprite Sheet Animation: From Sheet to Animated Character
October 9, 2026 · 7 min read · Updated October 14, 2026
Import, slice and animate a sprite sheet in Unity 6, with crisp import settings, Sprite Editor slicing, clips, Animator transitions and a C# script.
Open the tool from this article — free, in your browser, no signup.
Turning a sprite sheet into a character that idles, runs and attacks takes five steps in Unity: import settings, slicing, animation clips, an Animator Controller and a script. Several of them have a default that leaves the result blurry, too fast, sluggish or stuck in an animation. This walkthrough covers all five in Unity 6, with a free sheet to follow along with (the download is at the end).
1. Import settings that keep pixel art crisp
Drop the PNG into your project, select it, and set these in the Inspector before anything else:
| Setting | Value | Why |
|---|---|---|
| Texture Type | Sprite (2D and UI) | Makes the texture usable as sprites |
| Sprite Mode | Multiple | The texture holds many frames |
| Pixels Per Unit | Your frame or tile size, e.g. 32 | One 32-pixel frame becomes one world unit |
| Filter Mode | Point (no filter) | No blending between pixels |
| Compression | None | Compressed formats smear small pixel art |
| Max Size | At least the sheet's longest side | Larger textures are scaled down at import |
Press Apply. Use the same Pixels Per Unit for every sprite in the game, so characters and tiles stay to scale, and leave Generate Mipmap (under Advanced) off for 2D art. If lines appear between your tiles later, Why Lines Appear Between Your Tiles covers the remaining fixes.
2. Slice the sheet in the Sprite Editor
Slicing needs the frame size. If the sheet came without notes, load it into SpritePilot's Sprite Player first and enter the columns and rows: it reports the frame size, warns about leftover pixels, and plays the animation so you can check the speed before you set anything in Unity.
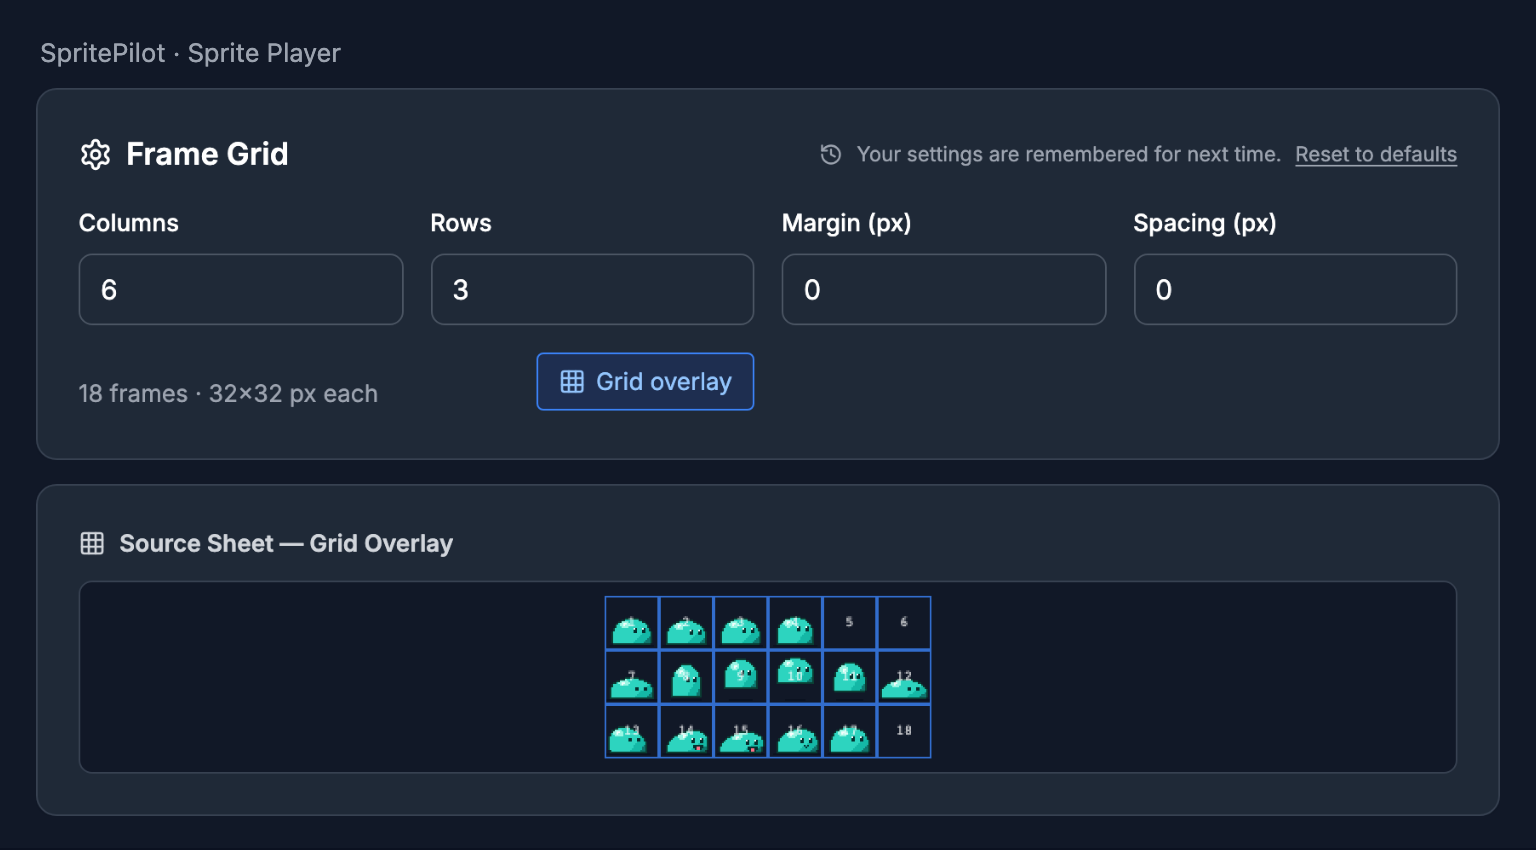
Then click Open Sprite Editor in the texture's Inspector (if it says Install 2D Sprite Package instead, click that first) and choose Slice:
- Type: Grid By Cell Size.
- Pixel Size: the frame size, 32 × 32 here.
- Offset: the border around the sheet, if there is one. Padding: the gap between frames. Both are 0 for this sheet.
- Pivot: Bottom, so the GameObject's position sits at the bottom center of every frame. Characters then stand on their position, and frames of different poses line up.
- Keep Empty Rects: off, so the three empty cells don't become sprites.
- Click Slice, then Apply in the toolbar.
Grid By Cell Count takes columns and rows instead, which is fine for a sheet without gaps. For one with a margin and spacing, Grid By Cell Size with Offset and Padding is the reliable choice; How to Find the Frame Size of a Sprite Sheet shows how to work those numbers out. The sliced sprites appear as children of the texture in the Project window.
3. Make one clip per animation
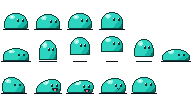
Unity has a shortcut for the first clip. Expand the texture in the Project window, select the four idle sprites and drag them into the Scene view. Unity asks where to save the new clip, then creates a GameObject with a Sprite Renderer and an Animator, a clip containing those frames at 12 samples per second, and an Animator Controller that plays the clip. It orders the frames by name in natural order, so a sprite ending in _2 comes before one ending in _10.
For the other animations, keep that GameObject selected and open Window → Animation → Animation (Ctrl+6, or Cmd+6 on a Mac). Pick Create New Clip from the clip menu under the playback controls, save it as run, and drag the six hop sprites onto the timeline. Do the same for attack. Each new clip is added to the same controller as a new state.
Now set the speed. Each sprite key sits one sample apart, so the clip's sample rate is its frame rate. Open the Animation window's ⋮ menu, turn on Show Sample Rate, and set each clip's sample rate (the Samples field): 6 for idle, 10 for run and 12 for attack are good starting points. Clips created in the Animation window start at 60, which plays a 6-frame hop in a tenth of a second. To hold one drawing longer, drag the keys after it to the right; How Fast Should Pixel Art Animate? covers the timing choices.
Last, select attack.anim in the Project window and untick Loop Time. Unity creates every new clip with looping on, and an attack should play once.
4. Wire the states in the Animator
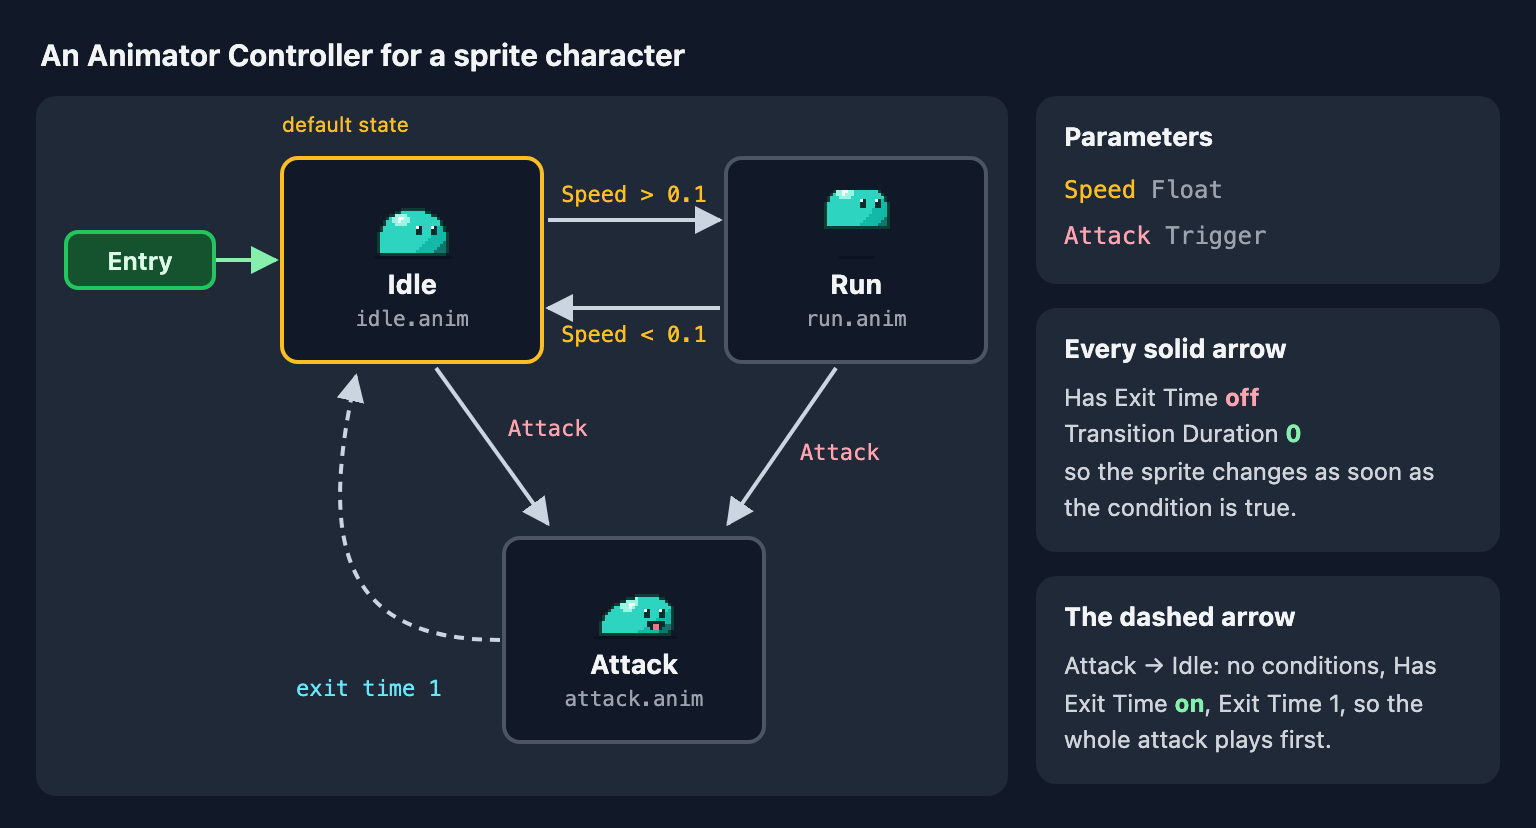
Open the controller (double-click it) and add two parameters in the Parameters tab: Speed (Float) and Attack (Trigger). Then right-click a state, choose Make Transition, and click the target state:
- Idle → Run: condition Speed Greater 0.1.
- Run → Idle: condition Speed Less 0.1.
- Idle → Attack and Run → Attack: condition Attack.
- Attack → Idle: no conditions.
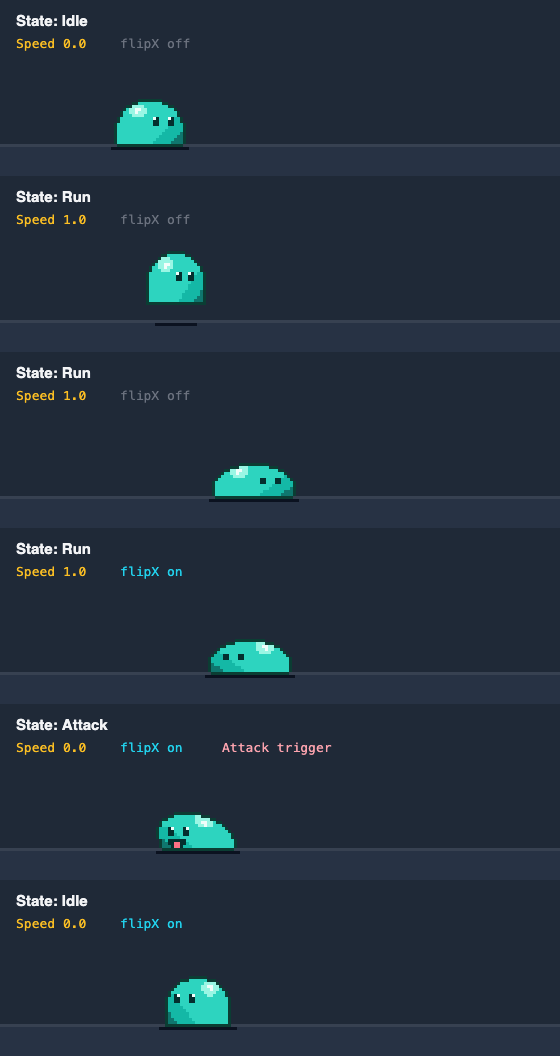
Now the two settings that matter most for sprites. On every transition except Attack → Idle, untick Has Exit Time and set Transition Duration to 0 under Settings. With Has Exit Time on, Unity waits until the clip reaches its exit time before it even checks the conditions, so the character keeps running after you let go. And a sprite can't be half one drawing and half another, so a blend has nothing useful to do; a duration of 0 switches drawings at once.
Attack → Idle is the exception: leave Has Exit Time on with Exit Time 1, so the whole attack plays before the character returns to Idle.
A trigger stays set until a transition uses it. Press attack during an attack and a second one plays right after; call ResetTrigger("Attack") when the first attack starts if you don't want that buffering.
5. Drive it from a script
Add this script to the GameObject. RequireComponent adds a Rigidbody2D if it's missing; set its Gravity Scale to 0 for a top-down game.
using UnityEngine;
using UnityEngine.InputSystem;

[RequireComponent(typeof(Rigidbody2D), typeof(Animator), typeof(SpriteRenderer))]
public class SlimeController : MonoBehaviour
{
    [SerializeField] float moveSpeed = 3f;
    [SerializeField] Collider2D hitbox; // a trigger collider on a child object

    static readonly int SpeedId = Animator.StringToHash("Speed");
    static readonly int AttackId = Animator.StringToHash("Attack");

    Rigidbody2D body;
    Animator animator;
    SpriteRenderer spriteRenderer;
    InputAction moveAction;
    InputAction attackAction;

    void Awake()
    {
        body = GetComponent<Rigidbody2D>();
        animator = GetComponent<Animator>();
        spriteRenderer = GetComponent<SpriteRenderer>();
        moveAction = InputSystem.actions.FindAction("Move");
        attackAction = InputSystem.actions.FindAction("Attack");
    }

    void Update()
    {
        float x = moveAction.ReadValue<Vector2>().x;
        body.linearVelocity = new Vector2(x * moveSpeed, body.linearVelocity.y);

        animator.SetFloat(SpeedId, Mathf.Abs(x));
        if (x != 0f)
            spriteRenderer.flipX = x < 0f;

        if (attackAction.WasPressedThisFrame())
            animator.SetTrigger(AttackId);
    }

    // Called by Animation Events on the attack clip
    public void HitboxOn() => hitbox.enabled = true;
    public void HitboxOff() => hitbox.enabled = false;
}
A few Unity 6 details are built in here:
- Input: Unity 6 projects use the Input System package, and the script reads its default Move and Attack actions, as in the package's quick start guide. If your project has no project-wide actions yet, create them under Edit → Project Settings → Input System Package → Input Actions. Older scripts that read
Input.GetAxisthrow an error in a project set to use only the new system. - Velocity: Unity 6 renamed
Rigidbody2D.velocitytolinearVelocity; the old name still compiles but is marked obsolete. - Flipping:
flipXmirrors the drawing only. Unity's reference says to use a negative Transform scale when colliders should flip too, so a hitbox on a child object needs its own mirroring. - Parameter IDs:
Animator.StringToHashturns the names into IDs once, instead of looking up the strings every frame.
The two hitbox methods are for Animation Events. Put a trigger collider on a child object, disable it, and drag it into the script's Hitbox field. Then open attack.anim, move the playhead to the lunge frame, click the Event button, and choose HitboxOn in the Inspector's Function field. Add HitboxOff on the recovery frame. The Animation Event page lists what such a method may take: no parameter, or one float, int, string, object reference or AnimationEvent. The same trick plays footstep sounds on exactly the frame a foot lands.
Checklist
- Import: Sprite (2D and UI), Multiple, Point (no filter), Compression None, consistent Pixels Per Unit.
- Slice: Grid By Cell Size, with Offset for a border and Padding for gaps; Pivot Bottom for characters.
- Clips: Samples equals frames per second; Loop Time off for one-shot animations.
- Transitions: Has Exit Time off and Transition Duration 0, except the one leaving a one-shot animation.
- Script: Input System actions,
linearVelocity,flipXfor the drawing only.
Unity doesn't read atlas JSON files on its own, so this workflow uses a grid sheet. For trimmed or mixed-size frames, How to Export Sprites from SpritePilot for Unity shows how to bring them in as separate sprites instead. The slime sheet from this article is free to use in any project (CC0): download slime-sheet.png, 192 × 96, six columns and three rows of 32 × 32 frames. The same sheet is set up in Godot 4, Phaser and pygame too. More free sprites to practice with, all one-row strips that slice with Grid By Cell Size: Free Pixel Art Game Assets.